Proper wall preparation is one of the biggest differences between a quick paint job and a professional finish that lasts. In Melbourne homes, walls can collect cooking residue, heating dust, moisture marks, small dents, picture hook holes and old paint defects that all need attention before the first coat goes on.
Good preparation improves adhesion, helps colour look even and reduces the chance of peeling, flashing or patchy sheen. Whether you are preparing one bedroom or planning a full interior painting project, the steps below will help you understand what should happen before painting begins.
Start With a Full Wall Inspection
Walk around the room in natural light and again with the lights on. Look for cracks, dents, old water stains, mould, loose paint, glossy patches, nail holes and areas where previous touch-ups are visible. Melbourne homes often have a mix of older plaster, plasterboard repairs and previous DIY painting, so every room can need a slightly different preparation approach.
Check moisture and stains before painting
Do not paint over active moisture issues. Brown ceiling stains, bubbling paint, mould spots around windows or damp patches near bathrooms should be investigated first. Painting over a problem may hide it temporarily, but the stain or bubbling can return through the new coating.
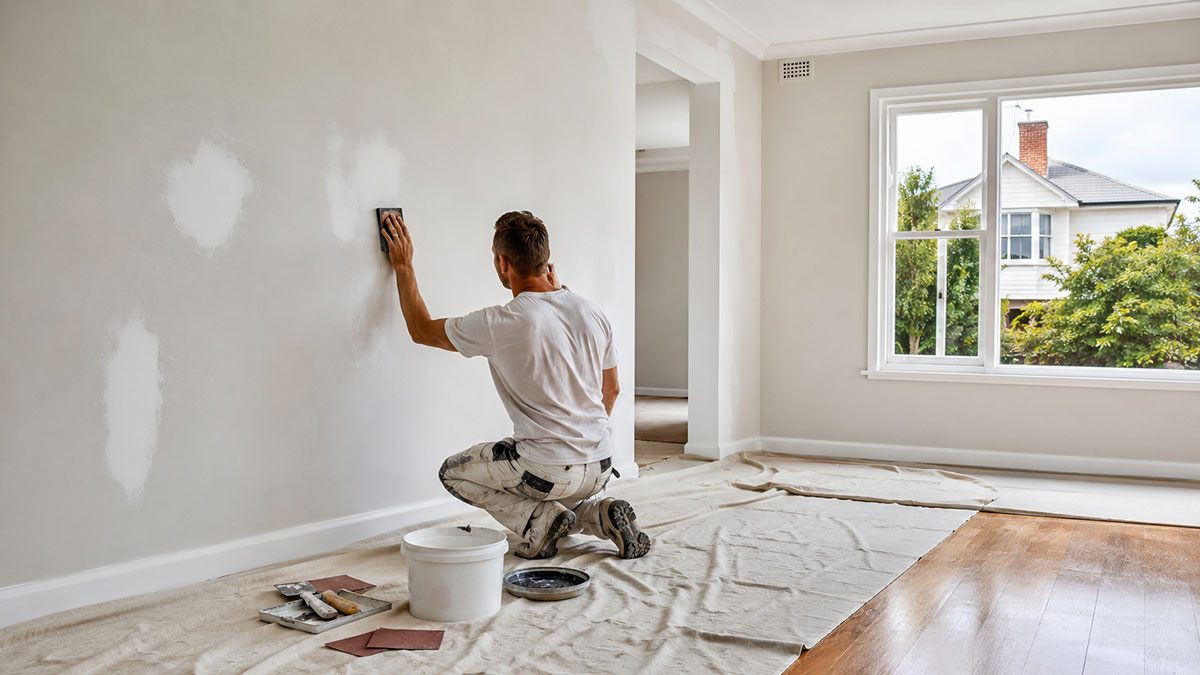
Remove loose paint and unstable surfaces
Any flaking or peeling paint needs to be scraped back to a firm edge. If the old coating is not sound, the new paint is only sticking to a weak layer underneath. After scraping, edges should be sanded smooth so the repair does not show through the finish.
Practical tip
Run your hand over the wall after sanding. If you can feel a ridge, dent or rough patch, it will usually become more visible once fresh paint reflects light across the surface.
How to Clean Walls Before Sanding and Filling
Previously painted walls should be clean, dry and free from dust, oils and grease. Kitchens, hallways and family rooms often need extra cleaning because fingerprints, cooking film and everyday grime can stop paint from bonding properly.
Use sugar soap or a suitable wall cleaner, then wipe with clean water and allow the wall to dry. Avoid soaking plasterboard. Around skirting boards and cornices, vacuum or dust first so loose dust does not mix into the paint.
Why cleaning matters
Paint can look fine at first even when applied over dirty surfaces, but adhesion problems can appear later. In high-use rooms, proper cleaning helps prevent peeling around switches, handrails, doorways and corners where hands regularly touch the wall.
Fill holes, cracks and dents carefully
Small holes from hooks and picture frames can usually be filled with a suitable interior filler. Larger dents, settlement cracks and plasterboard joint issues may need a stronger repair system. The key is to slightly overfill, allow the filler to dry fully, then sand it back flat.
Do not rush drying time
If filler is painted too early, it can shrink later and leave a visible depression. Deep patches may need more than one application. Professional painters often use different fillers depending on the depth, wall type and finish required.
Sand for a smooth, even paint finish
Sanding smooths filled areas, dulls glossy surfaces and removes small imperfections. It should be controlled and followed by dust removal. Too much sanding can damage plasterboard paper, while not enough sanding can leave visible edges around patches.
After sanding, vacuum or wipe the wall with a clean cloth. Dust left on the surface can mix into the first coat and create a rough finish.
Know when to undercoat or prime
Undercoat is important when painting bare plaster, patched areas, dark colours, stains or surfaces with adhesion concerns. A primer or sealer creates a consistent base and helps the topcoat perform properly. Simply adding extra finish coats is not always the same as using the correct primer.
Protect floors, furniture and fittings
Move smaller furniture and valuables out of the room where possible. Larger items can be moved to the centre and covered. Floors should be protected with drop sheets, and fittings, switches, handles and edges should be masked where needed.
Final checklist before painting
- Walls are clean, dry and dust free.
- Loose paint has been removed.
- Holes and cracks are filled and sanded.
- Glossy areas are dulled.
- Stains or bare patches are primed.
- Furniture, floors and fittings are protected.
Preparation is also a major factor in pricing. If you want to understand how preparation changes cost, visit our Melbourne painting prices guide or ask Perfection Coating for a free quote.
By Perfection Coating | Melbourne Painting Guide